Build your own#
Custom components can be added to your own codebase by subclassing Component or
one of the include components and then updating the template as required.
Gauge example#
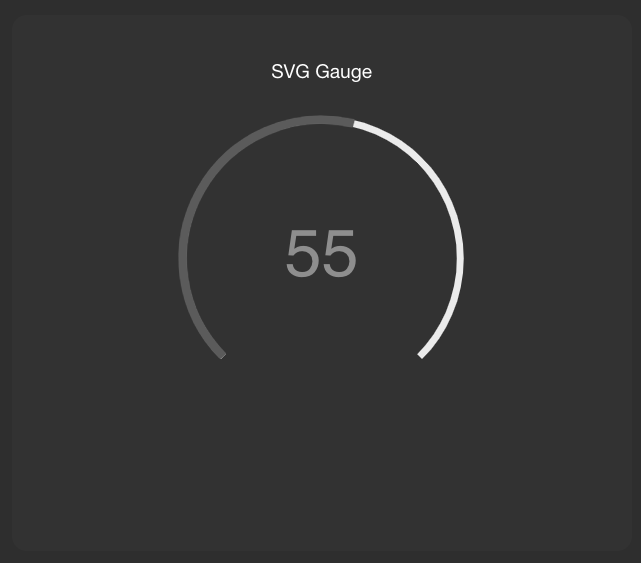
An an example how to create a more complicated custom component, below is an example of how to create a gauge component with SVG Gauge.
First create the component:
GaugeData is a helper class, you could return a dict etc if you prefer.
# components.py
from dataclasses import dataclass, field
from typing import Optional

from dashboards.component import Component, Stat
from dashboards.types import ValueData

@dataclass
class GaugeData:
    title: str = ""
    value: Optional[ValueData] = None
    max_value: ValueData = 100

@dataclass
class Gauge(Component):
    template_name: str = "includes/gauge.html"
Then create a template to render:
You will need to ensure you have svg gauge js/css added to your base template/static.
# includes/gauge.html

{% load humanize %}
<div class="gauge">
    {% if component.href %}<a href="{{ component.href }}">{% endif %}
    {% if component.icon %}
        <div class="float-end">
            {{ component.icon|safe }}
        </div>
    {% endif %}

    <script type="module">
        var componentGauge = Gauge(document.getElementById("{{ component.template_id }}"), {
            max: {{rendered_value.max_value}},
            label: function (value) {
                return value;
            },
            value: {{rendered_value.value}},
        });

        componentGauge.setValue({{rendered_value.value}});
        componentGauge.setValueAnimated({{rendered_value.value}}, 2);
    </script>

    <div id="{{ component.template_id }}" class="gauge-container">
        <span class="title-text">{{ rendered_value.title }}</span>
    </div>
    {% if component.href %}</a>{% endif %}
</div>
When creating a new template, the href, icon sections are boilerplate for base component features, you may or may not wish to include. Otherwise you can include the JS/HTML or (HTMX) you need for you component.
You can then use the new component in your dashboard:
gauge_svg = Gauge(
    value=GaugeData(
        title="SVG Gauge",
        value=55,
    )
)